Showing posts with label organized. Show all posts

1.02.2014

Photo of the Day - Organize

A little introduction. I am not a photographer and I am not one that thinks I take fabulous pictures or even tries to take fabulous pictures, I just enjoy taking pictures. With that said, anyone that knows me knows that January is hard for me. It is a let down from the holidays and having lived in Utah my whole life, with the exceptions of two years in Eastern Idaho, January is usually cold and depressing. This is where you can start thinking about the lines from Groundhog Day, "It's going to be cold, it's going to be wet and it is going to last you the rest of your life." Really I feel that way at times.

One of my goals this year is to be more positive but I'll blog about that later. So part of that I am going to try to take a picture each day the month and January and hopefully that will help me not hate the next 30 days. And I am not going to get frustrated or down on myself if I skip a day (ahem, like yesterday, you know, January 1st.) I am using the photo list from the Idea Room. Most days probably won't have this long of an explanation. I guess I just had to write down my reasoning to justify myself?

Today is Organize:

We've been sorting and organizing toys. It helps when you get cute blue bins for Christmas and a great deal on more bins at IKEA!

2.11.2012

More Organized part 1

One of my resolutions or goals was to get more organized. This really is going to be a year long process for me and maybe more. I had this problem:


It was driving the Smart One crazy! And not only did I have necklaces, bracelets and miscellaneous jewelry scattered on the dresser, the Silly One could reach most of it. (sigh) I knew something had to change and I had seen some ideas on pinterest but nothing I actually thought would be perfect for me. So my idea came from a few ideas and my own imagination. :) 


I found this great board/plaque at DI (Deseret Industries) for 75 cents. It had a little damage on a couple of the corners but it was in decent shape and had holes in the back so it could be easily hung up on the wall. I spray painted the edges black. The Smart One helped with this step because it was so cold in the garage when I was trying to do it. :)


I then found some sweet paper that I didn't think I would get sick of quickly and used mod podge to cover the board. I had to actually use two pieces because the dimensions of the board were approx. 14" x 11". I then found a 4 pack of bathroom hooks from Walmart for a couple of dollars. They had adhesive backs so I didn't have drill anything just stick them on. I had most of the supplies but out of pocket for this project I spent less than $5!

Add jewelry and hang it on the wall (above and out of reach of the Silly One). Not everything is hung up like earrings and such but the dresser looks much better! I do have some other ideas churning about the earrings but it will have to wait. We are in the middle of my master bedroom plan. I am so excited for the finished product! Stay tuned. 

How are your resolutions/goals coming?

6.08.2011

Meal Ideas

Do you ever not blog because you feel like you have to much to do to catch up with all that you wanted to blog about? Yeah that is me right about now. Oh well. I will just do what I can and try to make it work. I know when I posted the menu board there were some requests for meal ideas that I used so here goes. I just used google docs to upload the document I printed the meals from. Anyway after the first month of using the menu board I need to make some adjustments, like spaghetti needs to be on there more than once a month. :) Anyway there is the start.
Speaking of menu planning, I recently read this blog post on freezer meals and it got me motivated to start doing some of these things.

4.27.2011

Menu Board

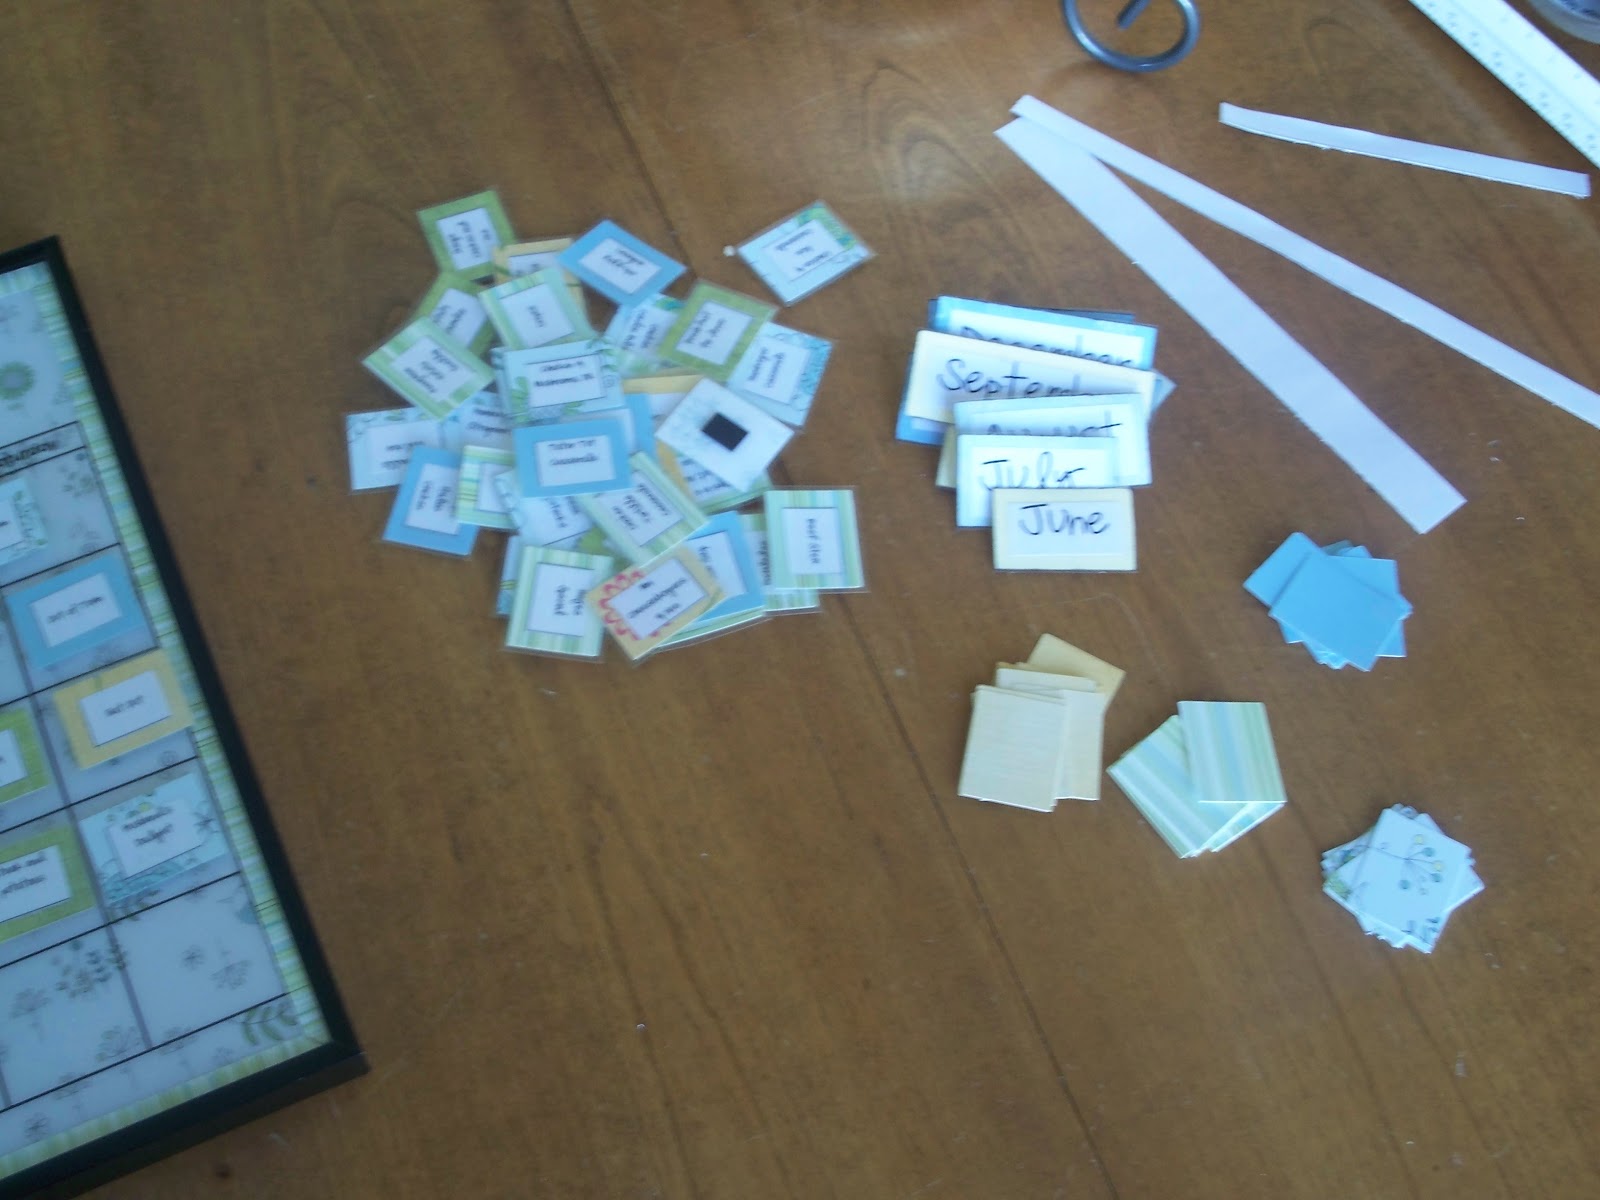
One of my New Year's Resolutions was to continue organizing my home. So I find good in accomplishing goals and organizing things. :) This is my recent project, a Menu Board. My friend motivated me to do this project and we actually worked on it together. This is where the idea originated. If you want instructions, look at that post.  
I did a background paper on both sides of the metal so I can change it if I get sick of looking at it. Amy got the calendar sheets from Oriental Trading and we made little magnets for each recipe. I also included eating out and being out of town. 

Plenty of meals to choose from and extras for future favorite meals.

Ready to use for May, well I stuck on there a start to get used to planning it all.  I used a scrapbook 12x12 frame that can actually expand the depth so I put the meals and month on the board and then put it in the frame. I figure that way the meals don't get lost and little people don't run away with them. 
Anyway, I am excited and hopefully this helps with meal planning.